1 Nov, 2025 | Admin | No Comments
Sigma Contemporary 20-200mm f/3.5-6.3 DG Review: A Lens with Broad Appeal

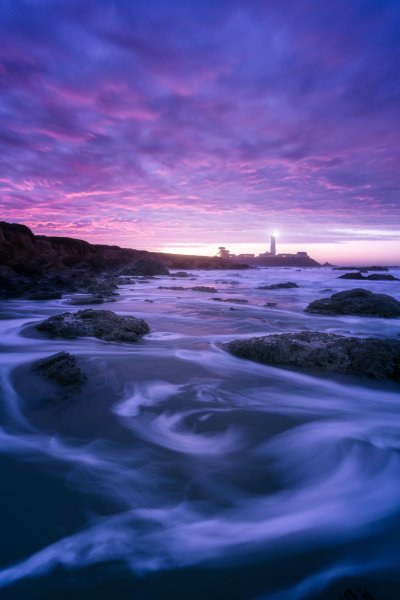
I recently took a trip to Aizuwakamatsu, Japan and this represented an ideal situation to also test the Sigma Contemporary 20-200mm f/3.5-6.3 DG super zoom lens. The autumn colors were just staring to turn and the mountainous area around Mt. Bandai promised some excellent landscape and wildlife opportunities.
31 Oct, 2025 | Admin | No Comments
Vivo X300 Pro Review: An Outstanding Camera That Happens to Be a Phone

It only takes a few shots to realize just how different the Vivo X300 Pro is as a mobile photography tool. It is laden with improved performance and output, plus a photography kit made up of a 2.35x telephoto lens extender and grip with built-in physical controls and a 2300mAh battery. It’s stacked.
The post Introducing the Leica M EV1 appeared first on Digital Photography School. It was authored by Sime.
Something new to ‘M’ photography, the ultimate in street photography? Here’s a great run-down by Leica trainer, Robin Sinha.
While this isn’t exactly a camera we’d suggest you ‘start out on’ ? it’s certainly a beautiful tool to add to the art that is photography.
The First Leica M with an Integrated Electronic Viewfinder
The M encapsulates the essence of our philosophy like no other camera. It embodies timeless aesthetics and true photographic authenticity, paired with uncompromising craftsmanship and exceptional image quality. The Leica M EV1 honours this legacy while expanding its horizons.
Take a LOOK over on the Leica website.
The post Introducing the Leica M EV1 appeared first on Digital Photography School. It was authored by Sime.
The post 13 Composition Rules Every Photographer Should Know appeared first on Digital Photography School. It was authored by Elizabeth Halford.

Struggling to create stunning compositions? I’ve been there. Composition is a tricky subject to master; some photographers spend years developing their skills with limited success.
Fortunately, creating good compositions isn’t as hard as it might seem. Artists have developed a handful of rules (guidelines, really) that allow you to create balance, flow, impact, and beauty without tons of practice.
In this article, I share my favorite 13 photography composition rules – all tried and tested methods for improving your image arrangements. So read through the article. Memorize the rules. And then watch as your photos are transformed!
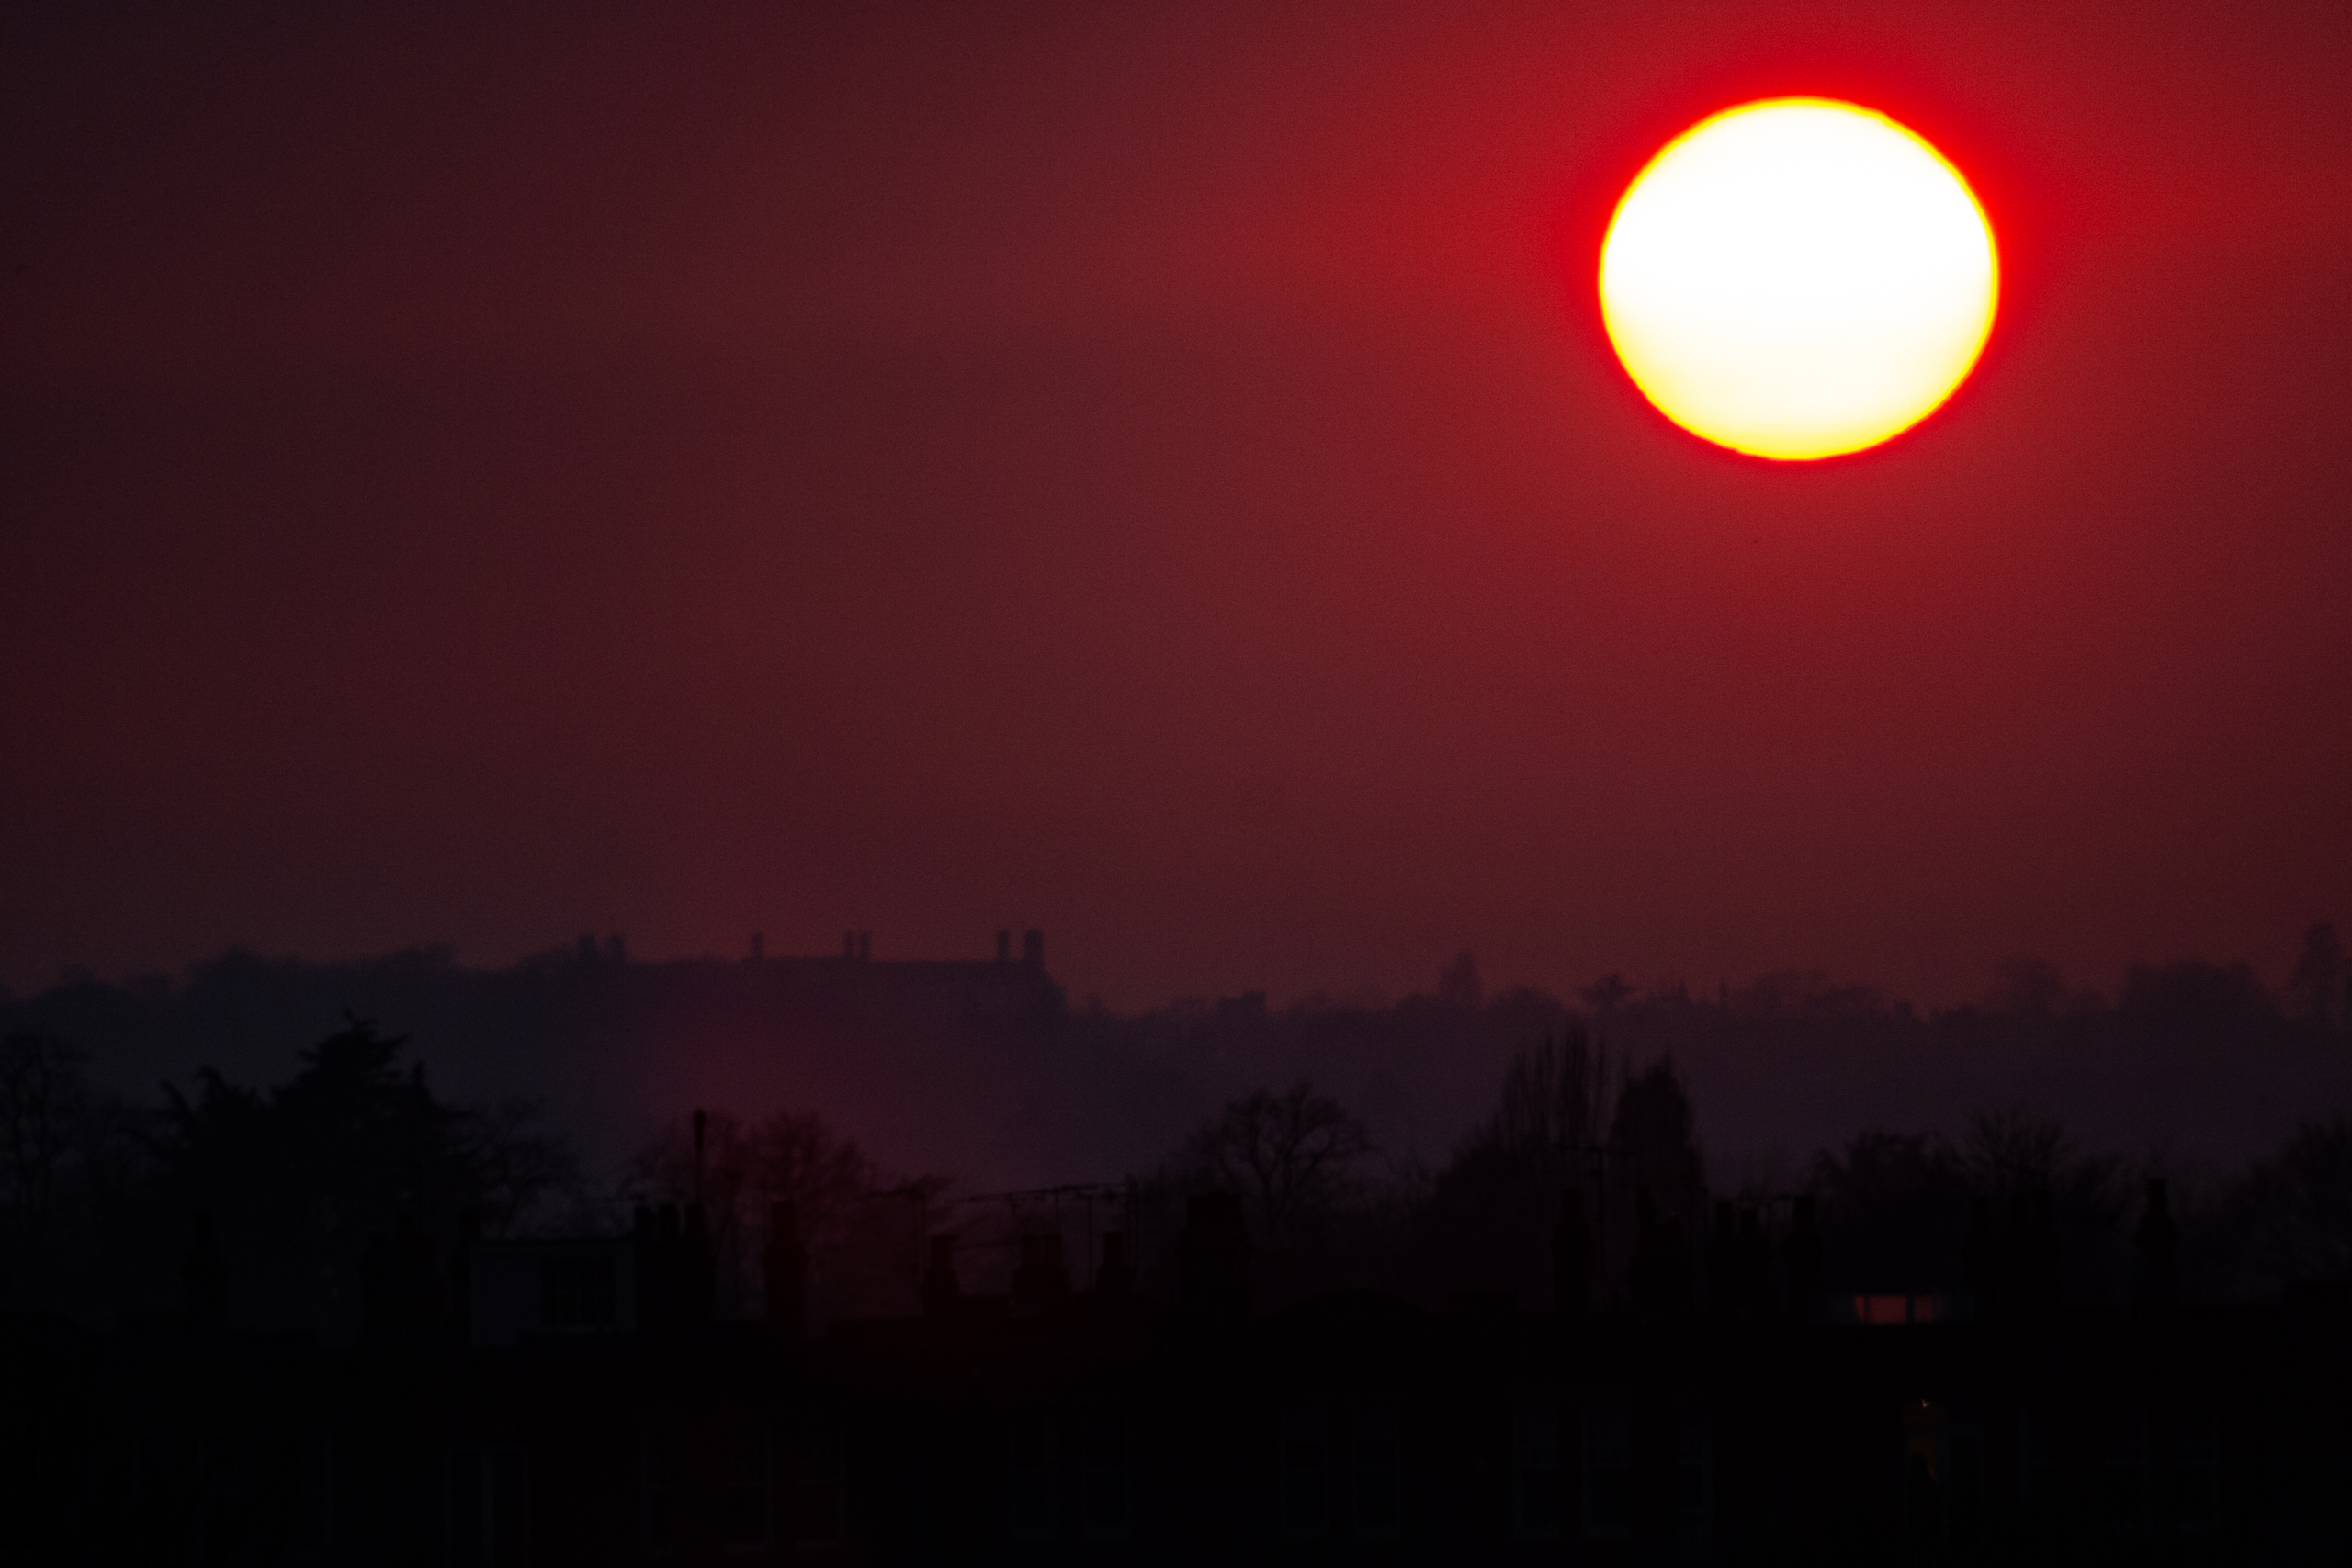
1. The rule of thirds
The rule of thirds is the most famous compositional rule there is, and for good reason: It really is a great way to produce balanced, dynamic compositions, and it’s pretty easy to master. But how does it work?
The rule of thirds states that you should place your key compositional elements a third of the way into the frame. It even comes with a handy set of gridlines to help you out:

So if you’re photographing a beach sunset scene, instead of putting the horizon line smack-dab in the middle of the frame, you’d want to place it along the upper third or lower third gridline.

And if you’re photographing a cluster of trees in a field, instead of putting the trees in the center of the shot, you’d want to position them a third of the way from the right or left edge.
By the way, if you can position your main subject at the intersection of two gridlines (i.e., a third of the way from two image edges), you’ll get an even more powerful result.
In general, rule-of-thirds compositions feel balanced. But they feel dynamic, not static, which helps the viewer better engage with the shot. Nice, right?
2. Symmetry
Symmetry refers to areas of reflection across the frame. It’s a great way to produce powerful, in-your-face images, the kind that feature lots of tension – though you do need to be careful not to create photos that are a bit too static (see my discussion of the rule of thirds above!).
You can create vertical symmetry by including subjects that reflect across the horizontal axis, you can create horizontal symmetry by including subjects that reflect across the vertical axis, and you can create diagonal symmetry by including subjects that reflect across a diagonal. Any of these options can work, though each effect will give you a different result, so I encourage you to experiment and see what you think.

The toughest part about using symmetry is actually finding symmetrical subjects. Bear in mind, however, that you can still create a symmetrical effect by featuring roughly – but not perfectly – symmetrical elements.
Trees, for instance, are roughly symmetrical subjects, so you might position one in the center of the frame so it divides the composition in two.
Pro tip: For the most compelling results, aim to fill the frame with your symmetrical elements. Physically get in close, or use a telephoto lens to really punch in.

3. Layering
A photograph isn’t just a flat image; it can have depth, texture, and layers that guide the viewer’s eye. The concept of layering can elevate your photography to new dimensions – quite literally.

First off, think of your photograph as a stage with multiple layers: the foreground, the midground, and the background. These aren’t just arbitrary divisions; they’re strategic zones where you can place different elements to create depth.
Take, for example, a beach scene. The foreground could be filled with shells and pebbles. Your midground? Maybe some frothy waves or children playing. And the background can showcase a fiery sunset or an ocean stretching to the horizon.
But don’t limit yourself to just three layers. More layers can add complexity and richness to your image. Sometimes you’ll find multiple layers even within a single “zone,” like several rows of trees in what you’d typically call the “background.”
What if all your layers are far away? No problem! Even distant layers can add to the composition. A skyline behind a row of trees and a mountain range? That’s a multi-layered photo that draws the eye and keeps a viewer engaged.
4. The rule of odds
The rule of odds states that the most pleasing compositions include odd numbers of elements.
So if you were photographing a group of shorebirds, you’d want to include three, five, or seven sandpipers; if you were photographing a rural landscape, you’d want to include one, three, or five telephone wires, grain silos, or barns; and if you were photographing a food flat lay, you’d want to include three, five, seven, or nine grapes, blueberries, or oranges.

Photographers argue over what makes the rule of odds such an effective composition technique, though it may have to do with our capacity to group items. The brain groups in pairs, so while an even number of items is easily groupable, an odd number of items will always leave out the final element – causing the viewer to become further engaged.
The rule of odds is most commonly used by still life, food, and product photographers. It’s easy to adjust a still-life arrangement to include three, five, or seven vases, and the resulting compositions look amazing.
Of course, you can also use the rule to improve your landscape, group portrait, and even architectural images. Simply count your elements, exclude or include objects as needed, then capture the final image.
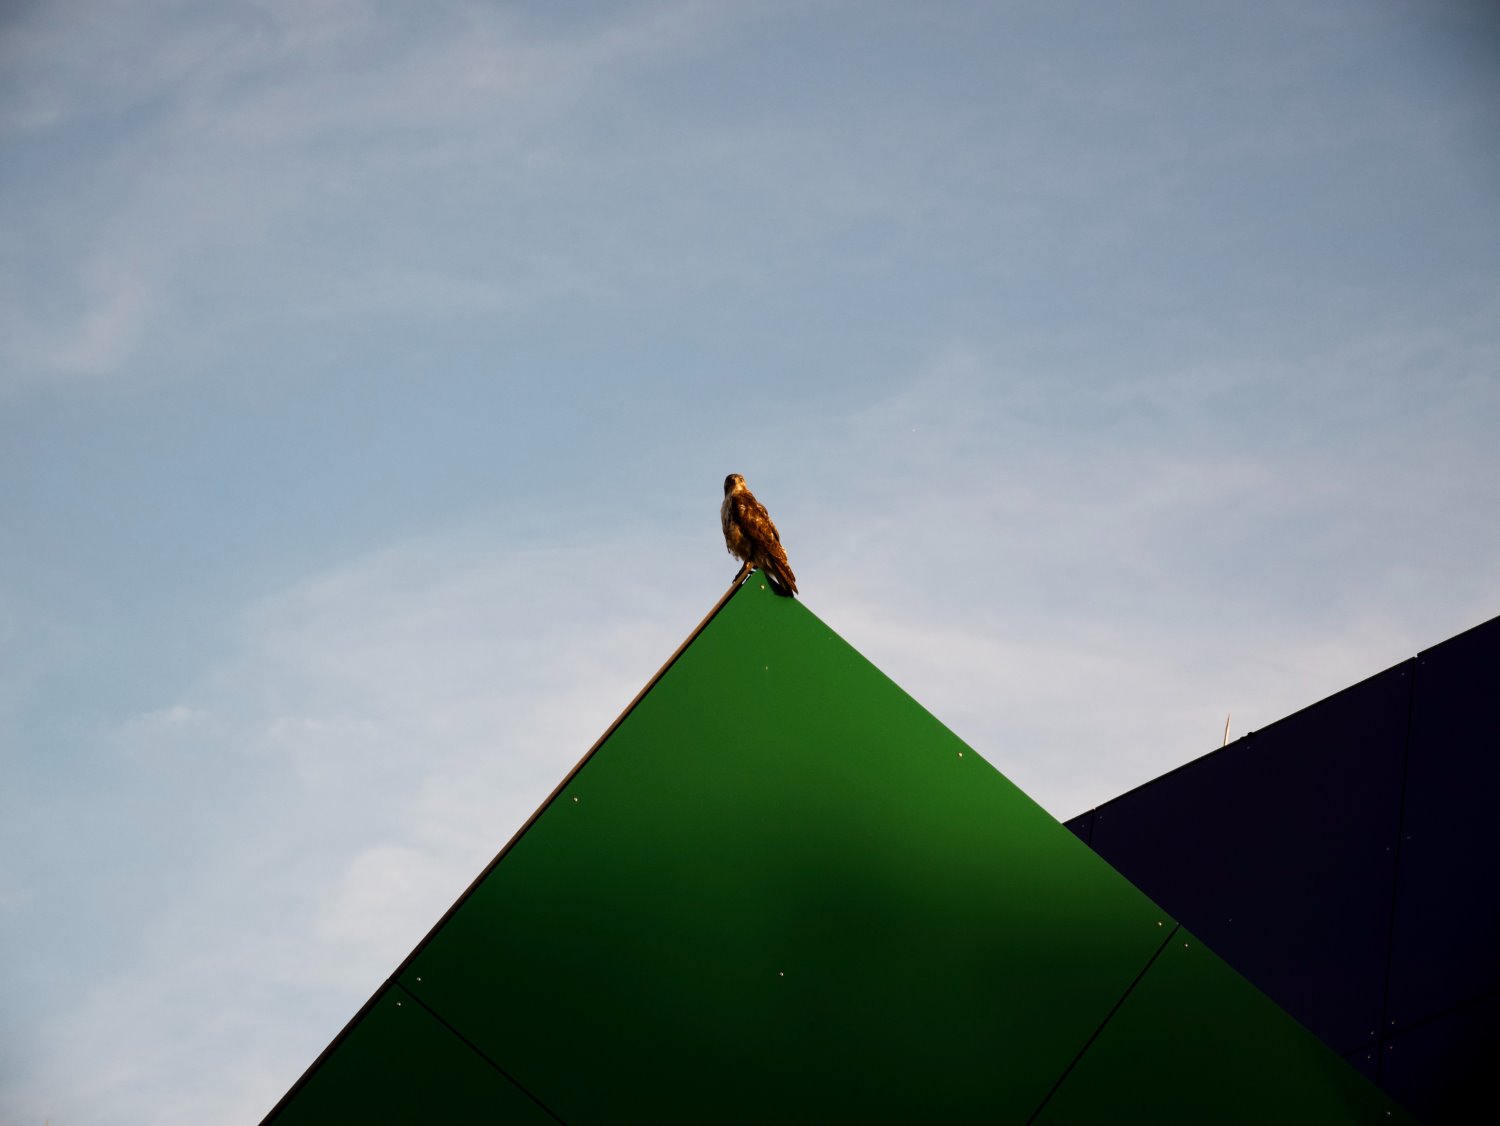
5. Negative space
Negative space refers to areas of emptiness in an image, such as:
- White sky
- An expanse of sea
- The side of a metal building
Note that negative space can also be made up of areas that are so heavily textured that they feel empty, like:
- A brick wall
- A stand of leafy trees
- A grass lawn
So what’s the rule of composition? Simple: The best images tend to include plenty of negative space because it helps the viewer breathe.
In other words, don’t compose your photos with too much active space (i.e., positive space); the result will feel overwhelming. Instead, offer a mix of positive and negative space, like notes and rests in a musical score.
One cool technique here is to find a main subject – a point of focus in your composition – then surround it with negative space. The negative space will direct the viewer toward the main subject, and the composition will be far more powerful.

And if you’re looking to create a very breathy, peaceful composition, try choosing a lone main subject, then fill the rest of the image with negative space. The final composition will look beautifully minimalistic!
6. Foreground interest
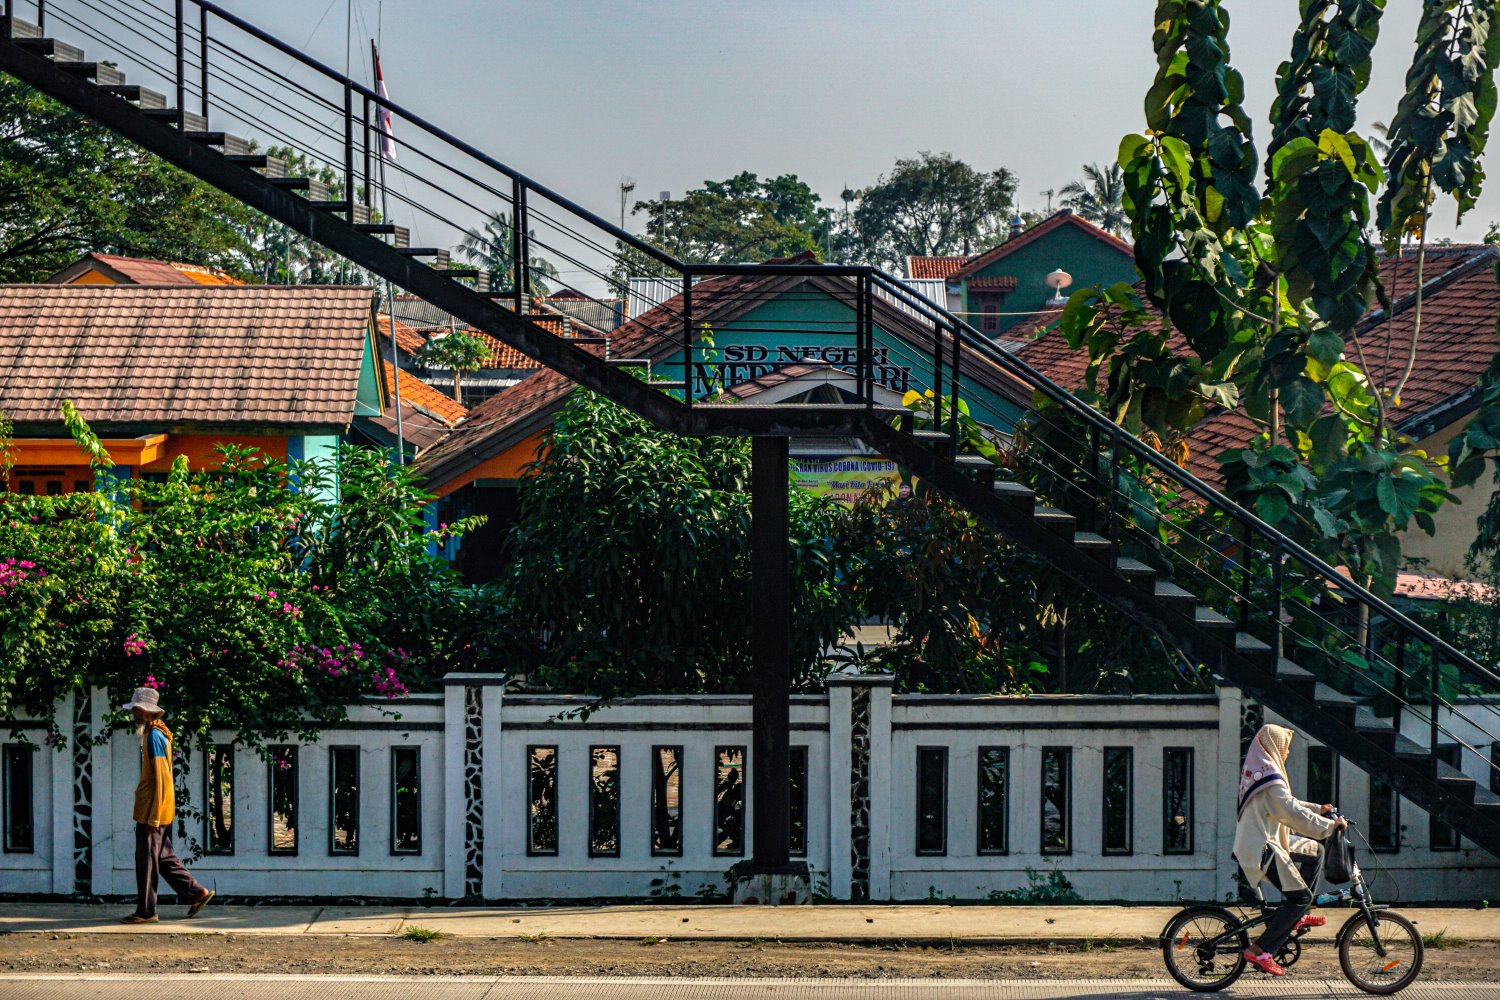
Have you ever looked at a landscape photo and felt like you could walk right into it? That’s likely due to a technique called foreground interest. In essence, it involves placing an object—be it a rock, a flower, or even a stream—close to the camera, in the foreground of your shot. This subject grabs your attention before your eyes wander to the background. It’s like the visual equivalent of an opening act that warms up the audience for the main event.

One thing to note is the importance of lens choice. A wide-angle lens is your best friend here. It allows you to capture both the foreground element and the background in one frame. That way, you can create a sense of depth and three-dimensionality that’s truly immersive.
Aperture settings also play a huge role. If you want everything from the foreground to the background to be in focus, you’ll need a narrow aperture. Think f/16 or smaller. However, be prepared to focus carefully; a slight misstep and either your foreground or your background could turn out blurry. This is where practice comes in, so don’t shy away from experimenting.

Now, this technique is often seen in landscape photography. But don’t limit yourself. It’s just as effective in cityscapes, street photography, and other genres. In essence, whenever you want to add depth to a photo, think foreground interest.
7. The rule of space
The rule of space is a composition technique commonly used by portrait photographers, event photographers, wildlife photographers, bird photographers, and even automotive photographers – really, any group of photographers who deals with humans, animals, or moving subjects.
Why? Because the rule of space states that you should give your subject space to either:
- Look into
- Run into
Say that you’re photographing a perching bird. If you follow the rule of thirds (above), you would want to position the bird a third of the way into the frame – but should it look toward empty space? Or should the bird look toward the edge of the frame?
According to the rule of space, the bird should look toward empty space, not the edge of the frame. That way, the image feels more open and less cramped.

Similarly, if you’re photographing a moving plane, the rule of space encourages you to include plenty of empty sky in front of the plane (and very little sky behind it), so your main subject has room to “move.”

Now, like the other compositional guidelines in this article, you don’t always need to follow the rule of space. Adding negative space behind the subject (instead of in front of it) can create an interesting sense of tension. But in general, the rule of space does work well, so I encourage you to try it out!
8. Leading lines
Leading lines are elements that lead the eye around the scene, and they’re a powerful way to create flow, add depth, and emphasize the main subject.
Leading lines are frequently used by landscape photographers to direct the viewer from foreground to background. The photographer arranges the scene with a subject in the background (such as a mountain, a tree, or a sunset), then finds some sort of foreground line that guides the viewer’s gaze. The resulting image boasts lots of depth and plenty of foreground-to-background flow, plus the background subject gets some much-needed emphasis.
Common leading lines include:
- Roads
- Fallen logs
- Rivers
- Lines in the sand
- Cracks in ice
- Jagged rocks
That said, leading lines can also be used in portrait photography, street photography, architectural photography, and much more. An outstretched arm can lead the eye through a street scene toward an interaction between subjects, while a subtly bent hand can lead the viewer to the face of a portrait subject.
When you’re just getting started with leading lines, you may struggle to find them, but don’t give up. Train your mind to look for relevant lines, and pretty soon, you’ll be seeing them everywhere.

9. The odd one out
Patterns are compelling. They offer a rhythm that can make an image visually pleasing. But let’s talk about breaking the pattern, the proverbial wrench in the machine, the odd one out.
Imagine laying out spoons on a table for a photo. Perfectly aligned, they create an almost hypnotic pattern. But then, you replace one spoon with a knife. Just like that, you’ve created a focal point that instantly grabs attention.
Why does this work? Well, the brain loves to solve puzzles. A pattern offers a sort of visual rhythm. The break in that pattern? It’s like a skipped beat that makes you pay attention. The viewer’s eyes will start at the break and then move around, exploring the rest of the pattern.
This concept isn’t just limited to inanimate objects on a table. Think about a flock of birds and one is flying in the opposite direction. Or a street filled with red cars and a single yellow one stands out. These breaks in pattern can happen organically in the world around you.
So, the next time you find a pattern, think about how to break it. Whether you’re setting up a still-life or wandering through nature, look for that odd one out. It’s an effective way to capture attention and make your photograph stand out.
10. Diagonals

Diagonals are like leading lines, except they cut diagonally through the frame and don’t necessarily lead the eye toward anything.
Instead, diagonals are used to create a sense of movement, flow, or energy – with frequently beautiful results.
So when you’re out with your camera, try looking for tilted objects, such as leaning trees, house roofs, and building railings. Then change your angle, zoom in, step back, and do whatever else you can to include them in your photos. It can help to get in close and fill the frame with the diagonal, though that isn’t always necessary.
And if you can’t find any good diagonals, you can always create one yourself by tilting your camera. The technique might be a bit unconventional, but it’ll imbue your photos with plenty of energy!
11. Triangles
Moving on, let’s explore the concept of triangles in composition. This shape serves as an powerful framework to organize your photo’s elements.
Why triangles, you ask? They create a sense of balance and stability. Plus, they add a touch of dynamism to your shots. That’s because the three corners and the connecting lines guide the viewer’s eye in a perpetual loop. Your gaze travels from one element to the other without coming to a complete stop.
Finding triangles might seem tricky at first, but it becomes easier over time. And it’s not just about obvious triangles like those in architectural features. Even in a cluttered market scene or a busy street, groups of people can form triangles. Adjust your angle, and suddenly you’ve framed a dynamic, well-balanced shot.

Say you’re at a park and you see a bench, a tree, and a lamp post. Arrange yourself so these three elements form a triangle within your frame.
This technique is all about recognizing patterns and then positioning yourself to capitalize on them. The next time you’re framing a shot, look for that hidden triangle. Whether it’s formed by people, buildings, or natural elements, it will add a layer of complexity to your composition without confusing the viewer.
12. The golden ratio
The golden ratio is 1.618, a number that constantly crops up in nature and tends to look very pleasing when incorporated into compositions.
What do I mean by this? Well, it’s possible to create a grid that is spaced out using the golden ratio. It works just like the rule of thirds – the goal is to position key elements along the gridlines – though it’s slightly more compressed in the center.
You can also use the golden ratio to produce a golden spiral overlay, which looks like the whorl of a nautilus shell. Then, by aligning key compositional elements with the spiral, you can capture unusually dynamic photos.

Most photographers find the golden ratio grid far easier to use, but if you want to really take your compositions to the next level, memorize the golden spiral, then look for compositions that seem to fit. (Note: It’s tough to find an arrangement of elements that perfectly mirrors the golden spiral. Instead, search for elements that roughly follow the spiral; you’ll still get a powerful effect, but with a little less frustration!)

13. Frame within a frame
Next in line is the “frame within a frame” technique, a favorite among photographers and Instagrammers alike. Picture this: you have a beautiful building you want to capture. Now imagine fitting that building within an archway or a window frame. What you’ve done is created a “frame” for your main subject.

A doorway can offer an additional layer of context to a historic building, or a tree branch can add a natural touch to a mountain scene. This technique creates depth and draws your viewer’s eye straight to the subject.
But the challenge lies in spotting these opportunities. You’ll need to train your eye to see not just the subject, but also potential frames within your environment. Walk around your subject; sometimes a great framing element is just a few steps away.
Once you become aware of this technique, you’ll start seeing frames everywhere. It could be a bridge framing a cityscape, or an overhanging tree framing a trail. With practice, you’ll be able to naturally incorporate this technique into your day-to-day shooting.

Photography composition rules: final words
Well, there you have it:
The 13 most useful rules of composition in photography. No, I didn’t cover every rule, but these are the big ones – and if you can memorize just a handful, your compositions will improve in leaps and bounds.
Don’t feel overwhelmed if you can’t apply all these techniques at once. Mastering composition is a journey, not a destination. Even seasoned photographers continually refine their skills, learning from each click of the shutter.
The beauty of these rules? They’re more like guidelines. As you gain experience, you’ll find your own creative ways to break or bend them. But first, you have to know them.
So, grab your camera and get shooting. Test these rules, tweak them, make them your own. The world is full of scenes just waiting to be captured through your unique lens. It’s time to make your mark.
Good luck, and enjoy composing!
Which composition rule is your favorite? Which do you plan to use? Share your thoughts in the comments below!
Note: This article was updated in October 2023 by dPS’s Managing Editor, Jaymes Dempsey.
The post 13 Composition Rules Every Photographer Should Know appeared first on Digital Photography School. It was authored by Elizabeth Halford.
The post Shoot with your phone? Sandmarc Hybrid Filter Review appeared first on Digital Photography School. It was authored by Sime.
Sunglasses for you phone.
This review in from our friend Lee Herbet at Capture Ink
Over the last few years the cameras in phones have gotten better and better. With this it also allows us to use accessories and apps on our phones to capture video and images that we may usually use our bigger camera for.
There are advantages and disadvantages of using your phone. The obvious advantage of using your phone is that it is the camera that most of us always have with us. The disadvantages, other than physics and a small sensor and lack of a lot of glass infant of that sensor, is that if you start having to carry a bag full of accessories for your mobile phone, it can become a bit less mobile.
In the embedded video I take you throw why you may want to have a set of clip on ND/CL filters for your phone and some of the things you can do with them.
How do you think you might use something like this?
The post Shoot with your phone? Sandmarc Hybrid Filter Review appeared first on Digital Photography School. It was authored by Sime.
The post Review: Godox’ new(ish) mini-flash iT20/iT22 appeared first on Digital Photography School. It was authored by Sime.
We were recently sent the Godox iT20/iT22 iFlash for review. They’re tiny, they weigh in at about 45gm. they’re USB-C rechargeable and they take up no space in your camera bag / pocket, but are they any good? Let’s talk about that…
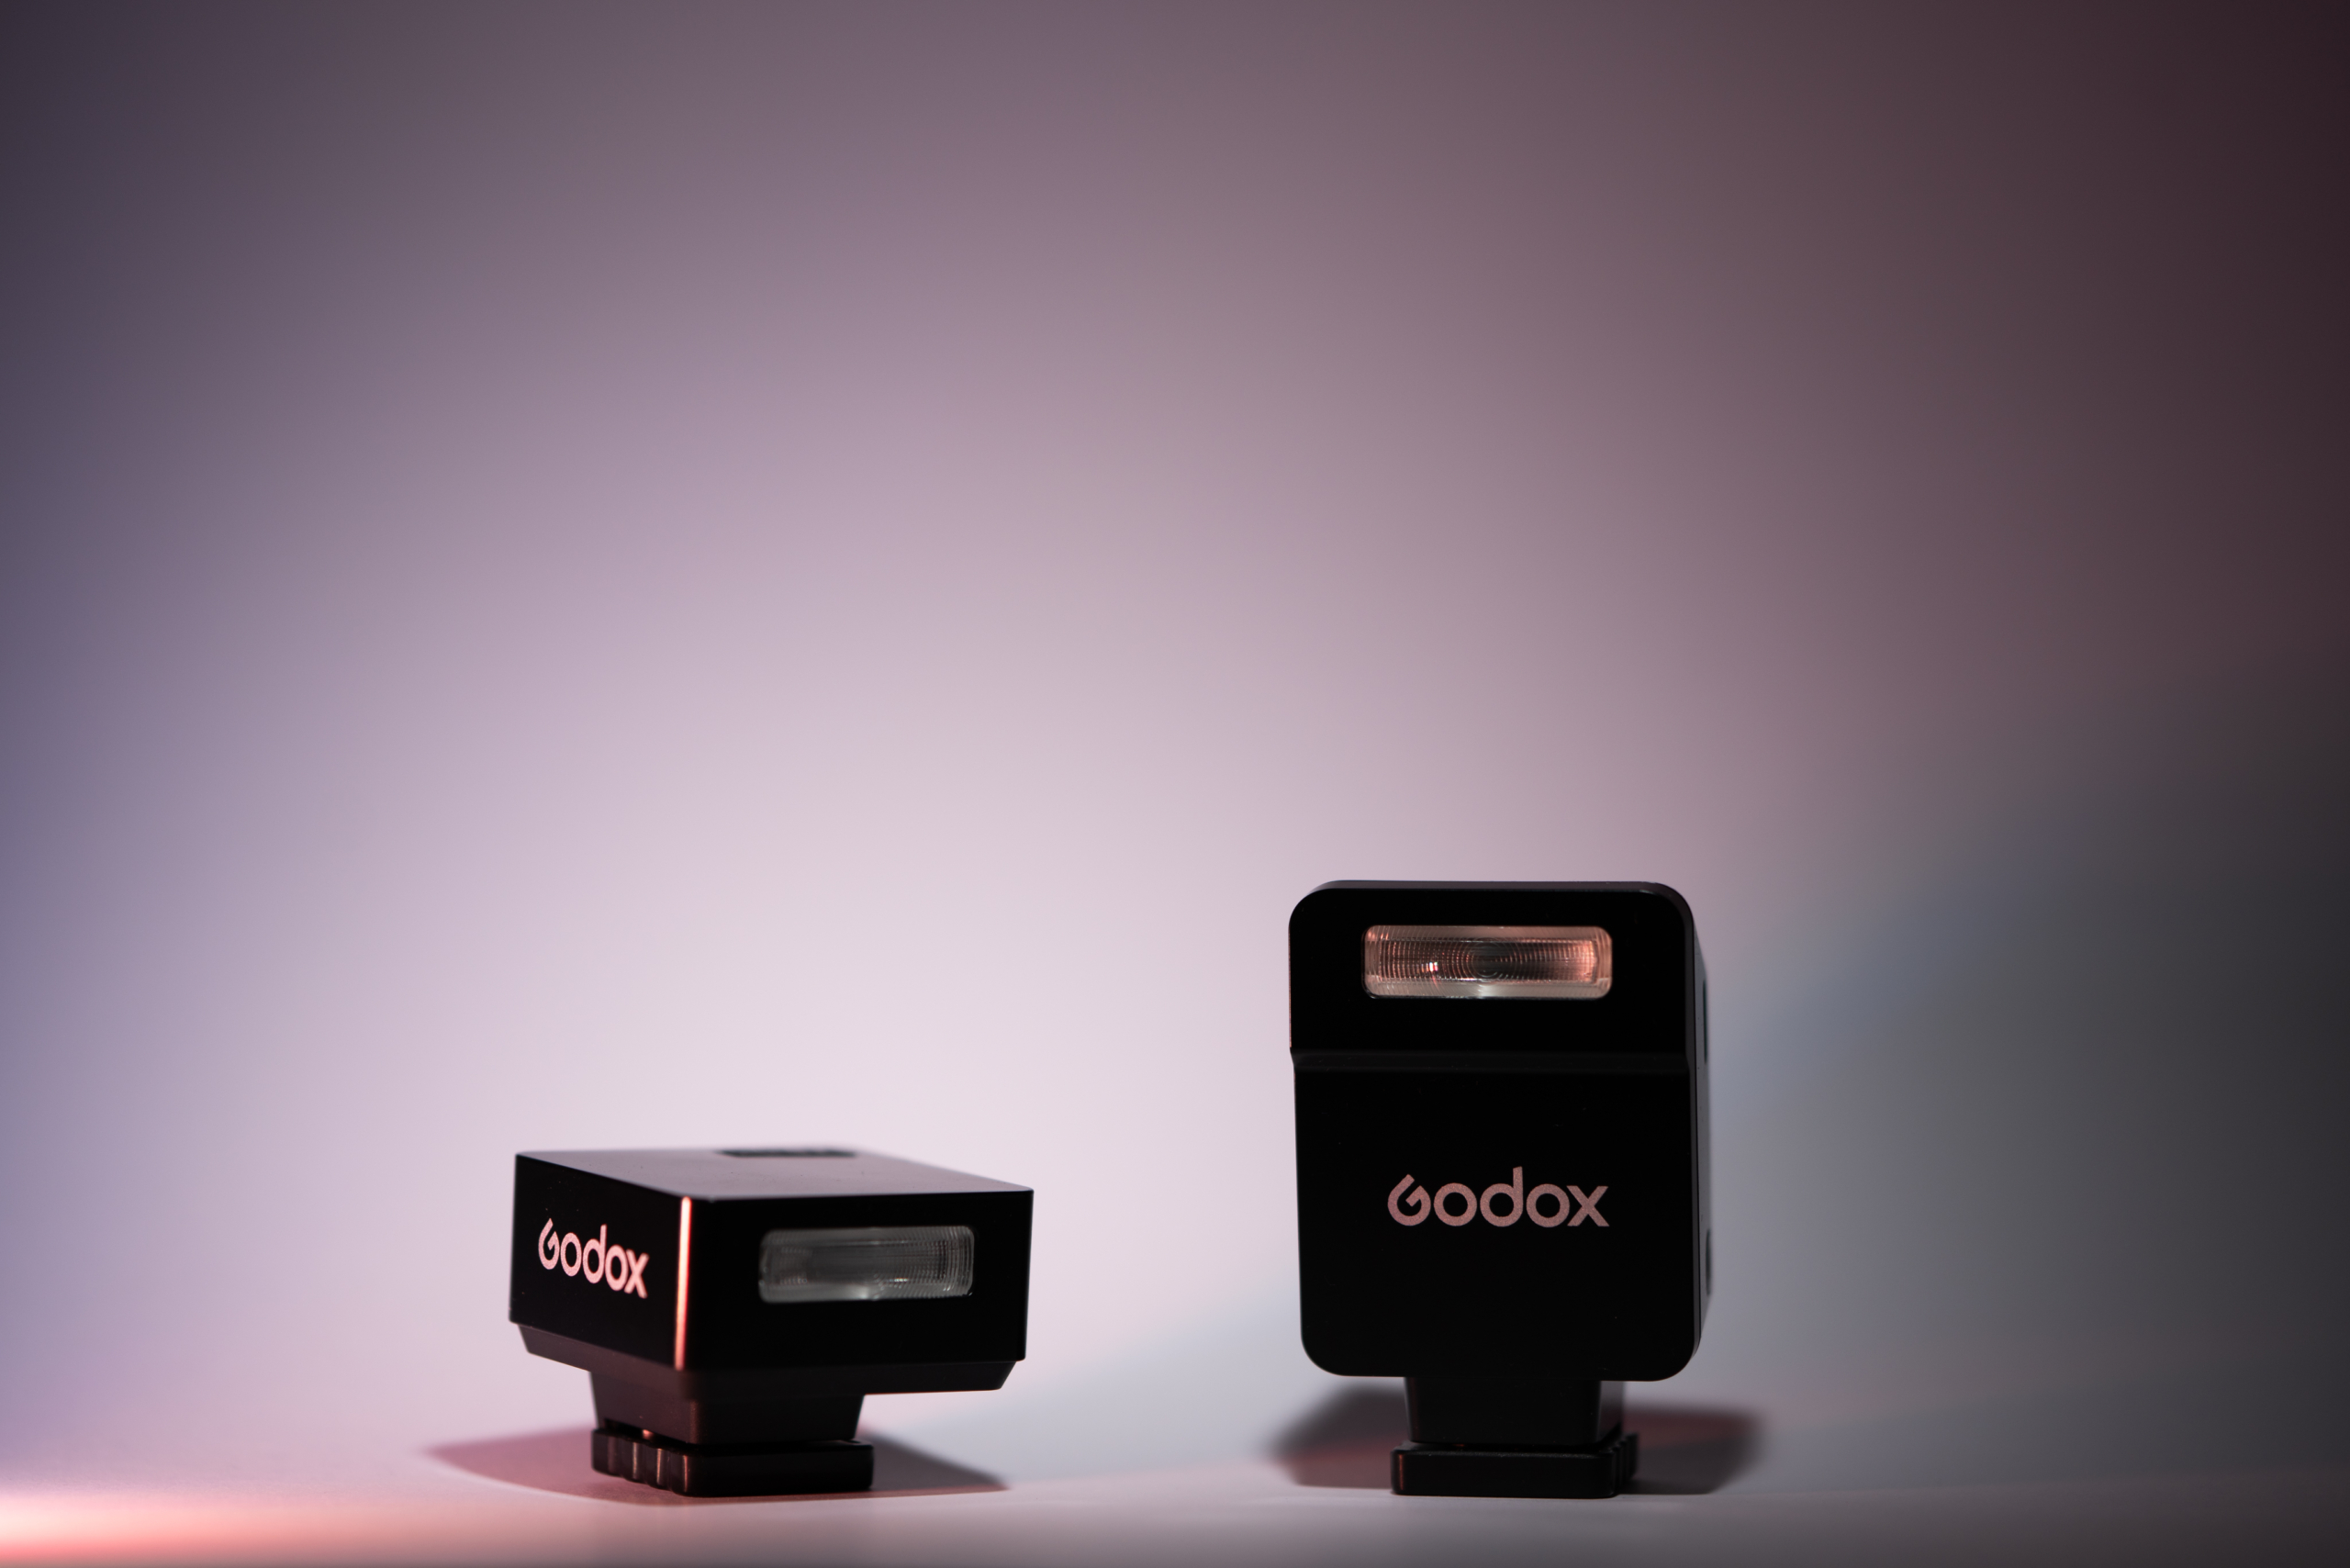
A small lightsource close to your lens typically gives a pretty harsh light and, honestly, these little flash fall into that category – while they do come with tiny mag-attach filters, a spreader (to throw your light around a bit) and two CTO colour filters, (1/2 CTO and 1/1 CTO) they do sit down very close to directly above your lens and so you tend to get that “deer in the headlights” look if you’re not careful!
There is no built in way to change the angle of the flash, you can’t use a remote trigger with them, but you could get creative with a piece of paper and bounce the flash – which I tried, for fun, and it can work.
The other issue you run into, literally, is the end of your lens (In my case a 35mm prime) gets in the way of the cast flash and sends a tasty shadow out onto your subject – that said, I’d imagine people using a flash like this are likely either using smaller (bridge?) cameras or maybe pancake lenses at parties? Not sure.. A couple of images below to show you the results of using the flash with a 35mm lens.


Godox do sell a hot shoe riser that lifts your flash up a little and also allows you to tilt it back to help alleviate that, but generally, unless you can get your flash off the camera or in the least bounce it off a wall or ceiling, you get what you get and you don’t get upset… That said, getting upset would be NOT being able to capture anything because it’s too dark – having the miniscule Godox in your bag will help you with that.
The iT20 and 22 are USB-C rechargeable, they recharge pretty quickly, just over an hour from empty to full and on a full battery they’re rated for around 700 frames at 1/1 power. Mostly easily enough for any party!
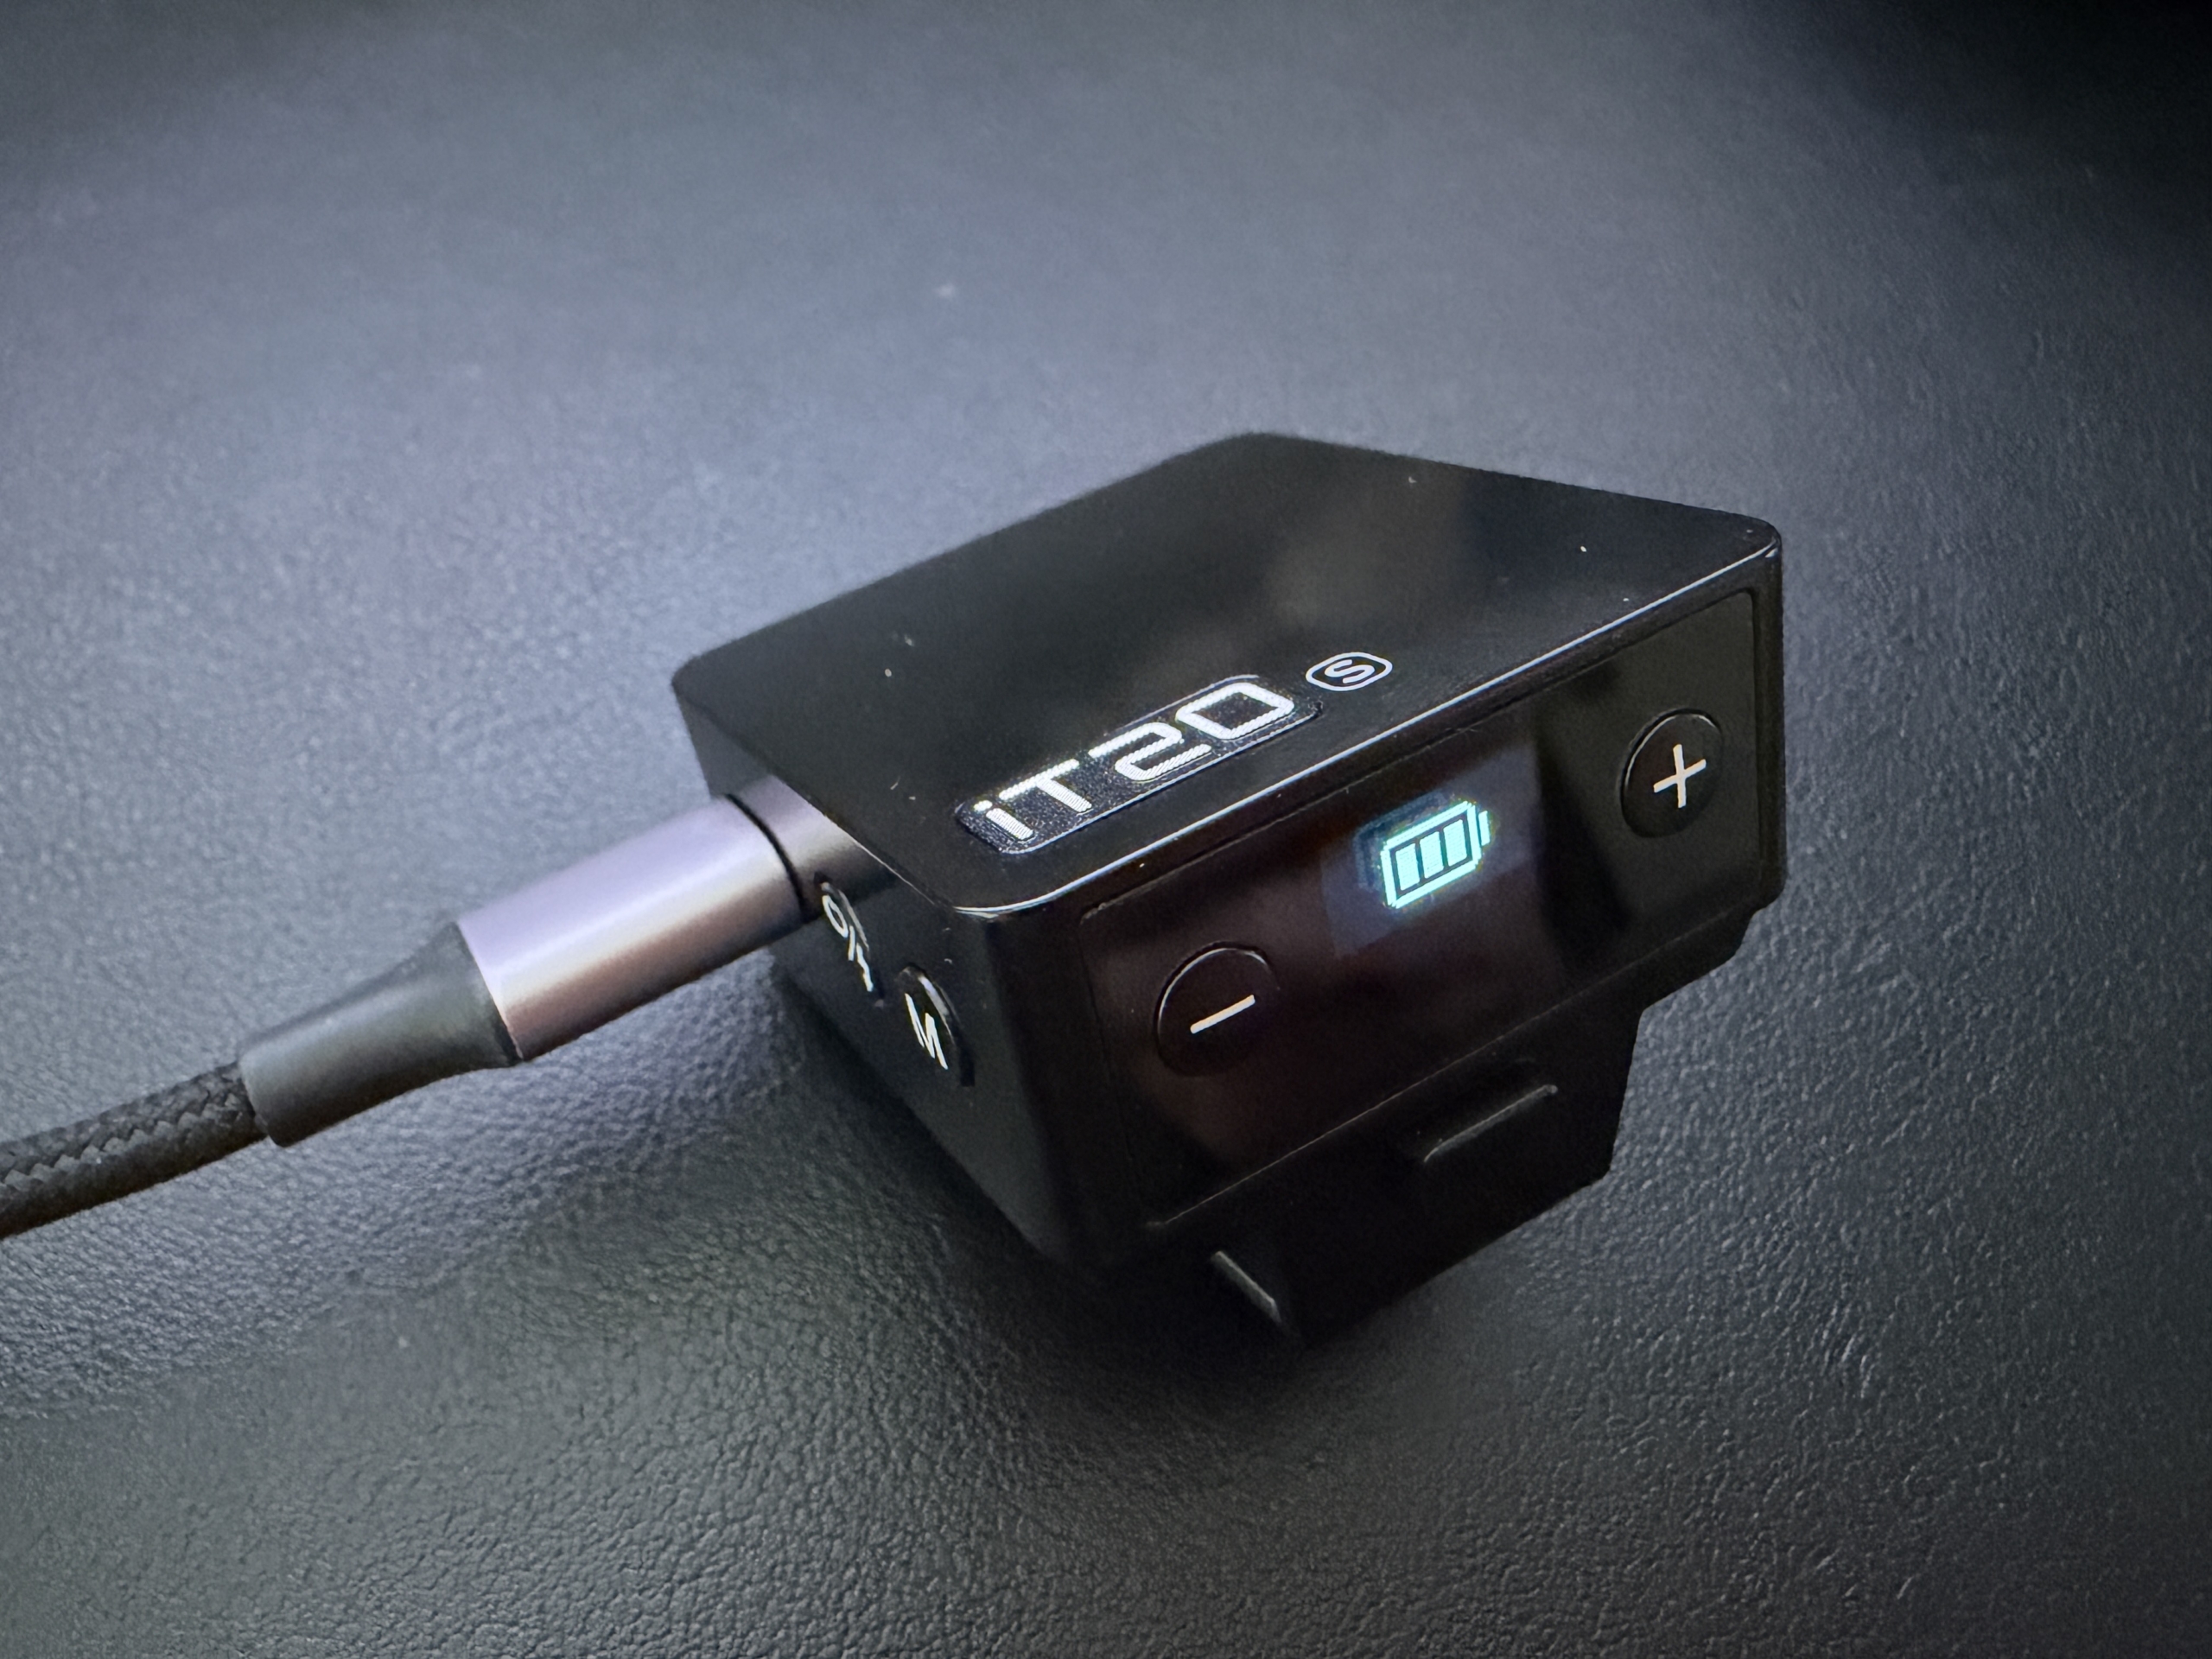
So we’ve talked about the whole “get the lightsource away from your lens” and how, with the Godox iT20/22 it isn’t possible, but does that matter? I honestly don’t think it does! In use, the Godox iT20/22 are an easy to use compact flash that will illuminate your subject – it won’t be the most flattering light, but it does a great job for what it is! You have a very simple Manual / TTL but, then you have buttons to adjust flash intensity across 6 stops (1/32 to 1/1 power) in precise ±1/3-step increments for total command over your lighting. Simple to use and I think would be really handy to help you learn how flash works.
Not sure what Manual Vs TTL flash is? Check out this article
What’s in the kit?
You get the flash, a usb-c / a cable to charge your flash, a small pouch to keep it all nice and neat and you get three filters. As you can see in the image below, there are a whole stack more filters, as well as the riser we talked about above, and a diffuser you can purchase separately.

I think, for a beginner flash, for the “have some light rather than nothing” that the mini Godox iT20/22 flash system is a great purchase for the money, well worth chucking in a Christmas stocking if that’s your thing!
Check them out here on the Godox website
The post Review: Godox’ new(ish) mini-flash iT20/iT22 appeared first on Digital Photography School. It was authored by Sime.
24 Oct, 2025 | Admin | No Comments
DJI Osmo 360 Review: Ready for Adventure Against Stiff Competition

The Osmo 360 is something of a reverse situation for DJI. Rather than being a category leader in this respect, the device is more of a response to what competitors like Insta360 have been doing. That widens the scope and scrutiny for what a camera like this could and should be, given the versatility DJI claims it has.
The post The Unseen Frame: Why Photography is More Than Just a Click appeared first on Digital Photography School. It was authored by Sime.
In an era where every smartphone is a camera and every moment is potentially “Instagrammable,” it’s easy to dismiss photography as a mere act of clicking a button. But for those who truly delve into its depths, photography is far more profound. It’s an art, a science, and a philosophy all rolled into one, challenging us to see the world not just as it is, but as it could be.
We often focus on the tangible aspects: the latest gear, the perfect settings, the sharpest focus, or the most vibrant colors in post-processing. Digital Photography School, for instance, offers invaluable guides on everything from shutter priority mode to mastering white balance and even creative Photoshop effects. These technical skills are undeniably crucial, forming the bedrock of good photography. They are the grammar of our visual language.
However, the truly thought-provoking aspect of photography lies in what happens before and after the click. It’s in the unseen frame – the mental preparation, the emotional connection, and the narrative we construct.
The Power of Pre-Visualization: Before a single exposure, a photographer often “sees” the image in their mind’s eye. This isn’t just about composing a shot; it’s about anticipating light, understanding the mood, and deciding what story needs to be told. It’s the silent conversation between the artist and the scene, where possibilities are explored and intentions are set. This mental pre-visualization transforms a simple snapshot into a deliberate act of creation.
Beyond the Pixel: The Emotional Resonance: What makes an image truly compelling? It’s rarely just technical perfection. It’s the emotion it evokes, the memory it stirs, or the question it poses. A faded, slightly out-of-focus photograph of a loved one can hold more power than a technically flawless landscape if it resonates with our deepest feelings. Photography, at its core, is about bottling moments and emotions, allowing them to transcend time and speak to different hearts.
The Photographer as Interpreter: Every photograph is an interpretation of reality, not a mere replication. The choices we make – what to include, what to exclude, how to light, how to frame, and how to process – all contribute to this interpretation. The same scene can yield countless different photographs, each reflecting the unique perspective and sensibility of the person behind the lens. This act of interpretation is what elevates photography from a craft to an art form, making the photographer a storyteller, a commentator, and sometimes, even a philosopher.
So, the next time you pick up your camera, whether it’s a professional DSLR or a humble smartphone, pause for a moment. Look beyond the technical specifications and consider the unseen frame. What do you truly want to convey? What emotion do you want to capture? What story are you trying to tell? It’s in these deeper considerations that the true magic of photography unfolds, proving that it is indeed much more than just a click.
Do you agree, or am I crazy? ?? Let me know.
The post The Unseen Frame: Why Photography is More Than Just a Click appeared first on Digital Photography School. It was authored by Sime.

The “M” in the Leica M series stands for Messucher, which refers to a large and accurate rangefinder incorporated with a viewfinder. For decades, this Leica rangefinder system has been synonymous with its brand and is the basis for the charming shooting experience that Leica M cameras are famous for. But with the Leica M EV1, Leica has forged a new path, and it is sure to polarize its fans.

Fujifilm has a crowded lineup of cameras, which, from an optimistic viewpoint, offers photographers many choices. However, from a pessimistic viewpoint, the degree of choice can be intimidating to beginners. This is part of why it is so important to have a solid entry-level camera to welcome new photographers into the Fujifilm family. For many years, the X-T30 series has served this role well, and now a third version has arrived. Priced at $999, it keeps photography affordable.